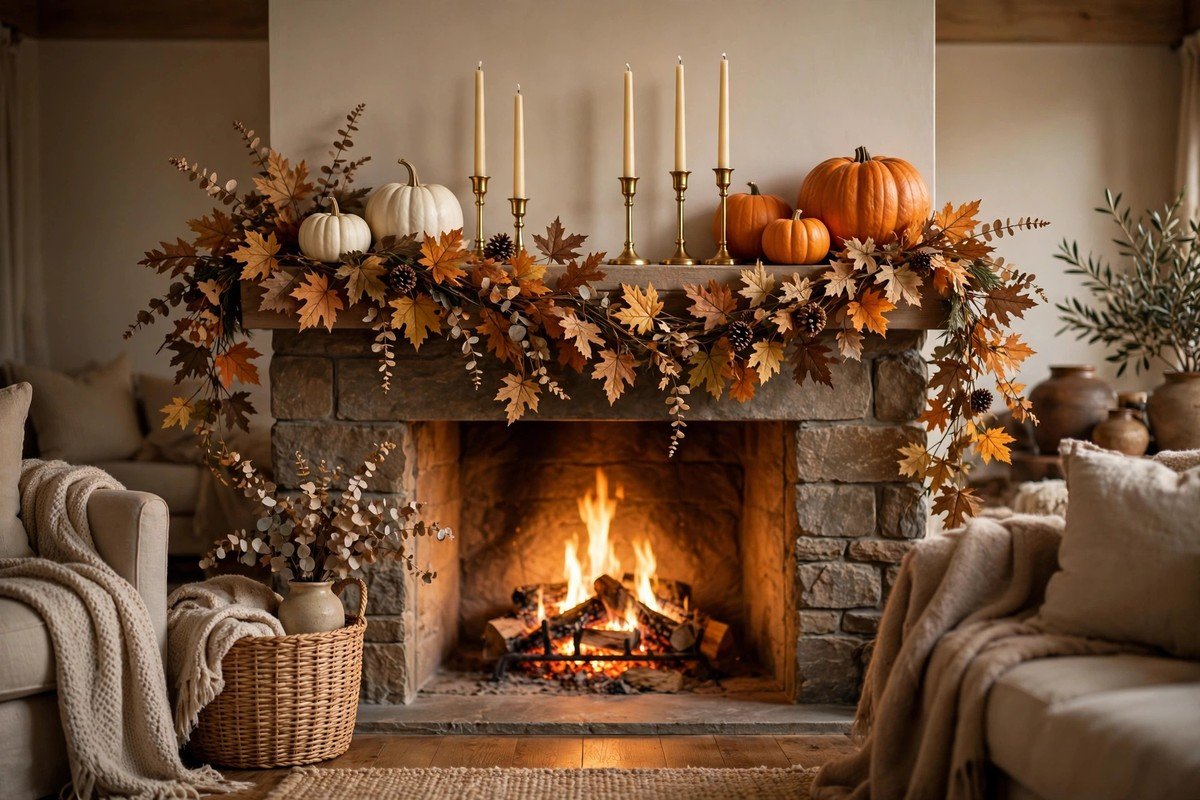
The mantel is the first thing people see when they walk into my living room. At Thanksgiving, I want it to feel warm and welcoming before anyone even sits down. These are the layers I build every year, starting from bare wood to finished.
1. Start with a fall garland as your base
Every good mantel starts with a garland draped across it. I use a faux one with eucalyptus and orange maple leaves. Let it swoop a little in the middle instead of pulling it straight. The garland is the backbone that everything else sits on. Once it is placed, the rest comes together fast.

2. Layer pumpkins in odd numbers
I arrange white and orange pumpkins right on top of the garland. Groups of three or five always look better than even numbers. I mix sizes, with the biggest pumpkin slightly off center. Real mini pumpkins work here since they last for weeks. Step back and check the balance from across the room.

3. Add tall candlesticks at both ends
Tall candlesticks at each end of the mantel frame the whole display. I use brass ones with cream taper candles. The height draws the eye up and makes the mantel feel grand. I light them during Thanksgiving dinner for a soft glow. Keep them at the very ends so they do not crowd the pumpkins.
4. Hang a simple wreath or framed print above
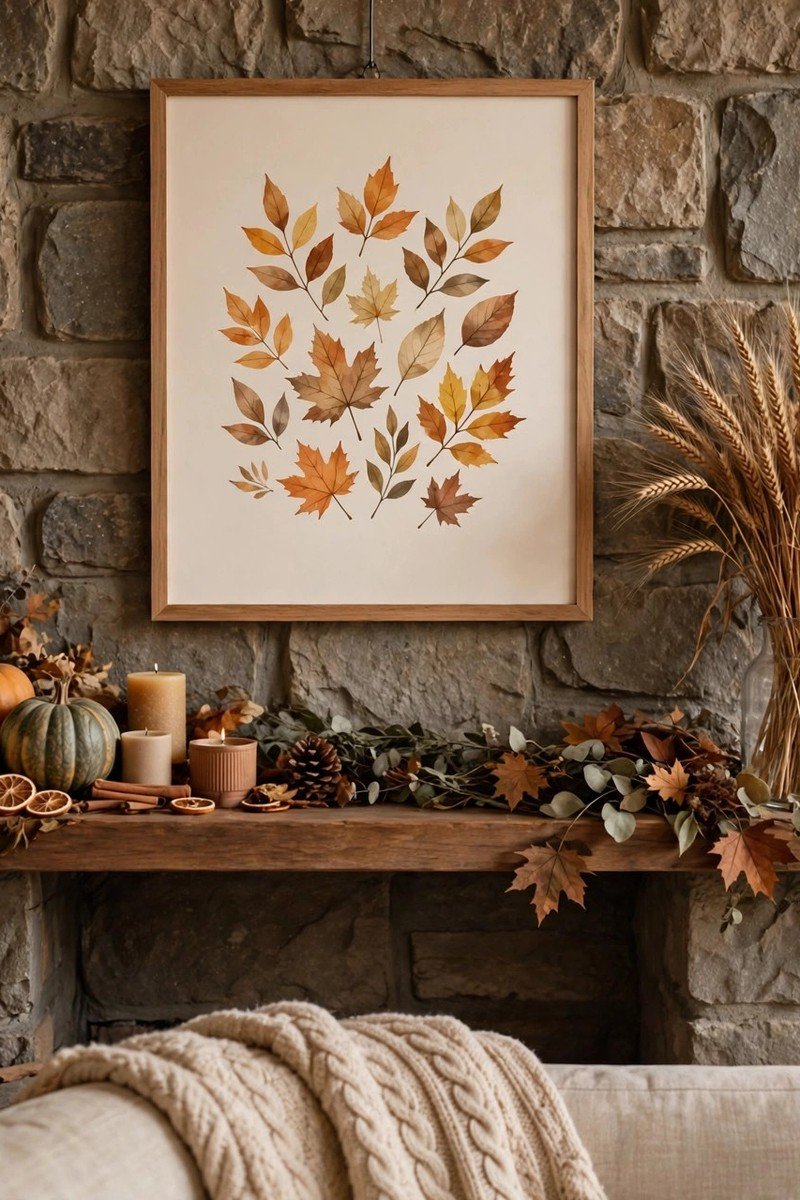
The wall above the mantel needs love too. I hang a simple wheat wreath or a framed autumn print I already own. It connects the mantel display to the rest of the wall. One piece is enough. Too many things competing up there makes it feel busy instead of calm.
5. Weave in dried wheat stems
A few dried wheat stems tucked into the garland add a harvest feel that is perfect for Thanksgiving. I push them in at angles so they fan out naturally. The golden color catches the light beautifully. Mine came in a bundle years ago and I reuse them every single year.
6. Add family photos in warm frames
I swap in two or three family photos in wooden frames on one side of the mantel. Thanksgiving is about the people, so their faces belong in the display. Warm wood frames blend right into the fall colors. Guests always stop to look at them, which starts the best conversations.
7. Include a thankful message
A small letter board or wooden sign with a thankful message sits in the middle of my mantel. I keep the words short, something like grateful hearts gather here. It sets the tone for the day without being preachy. I change the message every year so it feels fresh.
8. Set pinecones on the hearth below
The hearth below the mantel is part of the display too. I fill a low wooden bowl with pinecones and set it right under the center. It grounds the whole arrangement. If you have a fireplace screen, the bowl sits nicely in front of it. It is the easiest part of the whole project.
9. Tuck fairy lights into the garland
Battery fairy lights woven through the garland make the mantel glow in the evening. I hide the battery pack behind a pumpkin on one end. Warm white lights blend with the candlelight perfectly. Turn them on before guests arrive and the whole living room feels magical.
10. Keep one side a little simpler
This is the design secret that keeps it from looking cluttered. I style one side of the mantel a touch lighter than the other. A little breathing room makes the fuller side look intentional. Asymmetry feels natural and relaxed. Step back, squint, and adjust until it feels balanced.
Conclusion
That is my Thanksgiving mantel from start to finish. Garland, pumpkins, candles, and a few personal touches. Give yourself an hour the weekend before. Your living room will be ready to welcome everyone.