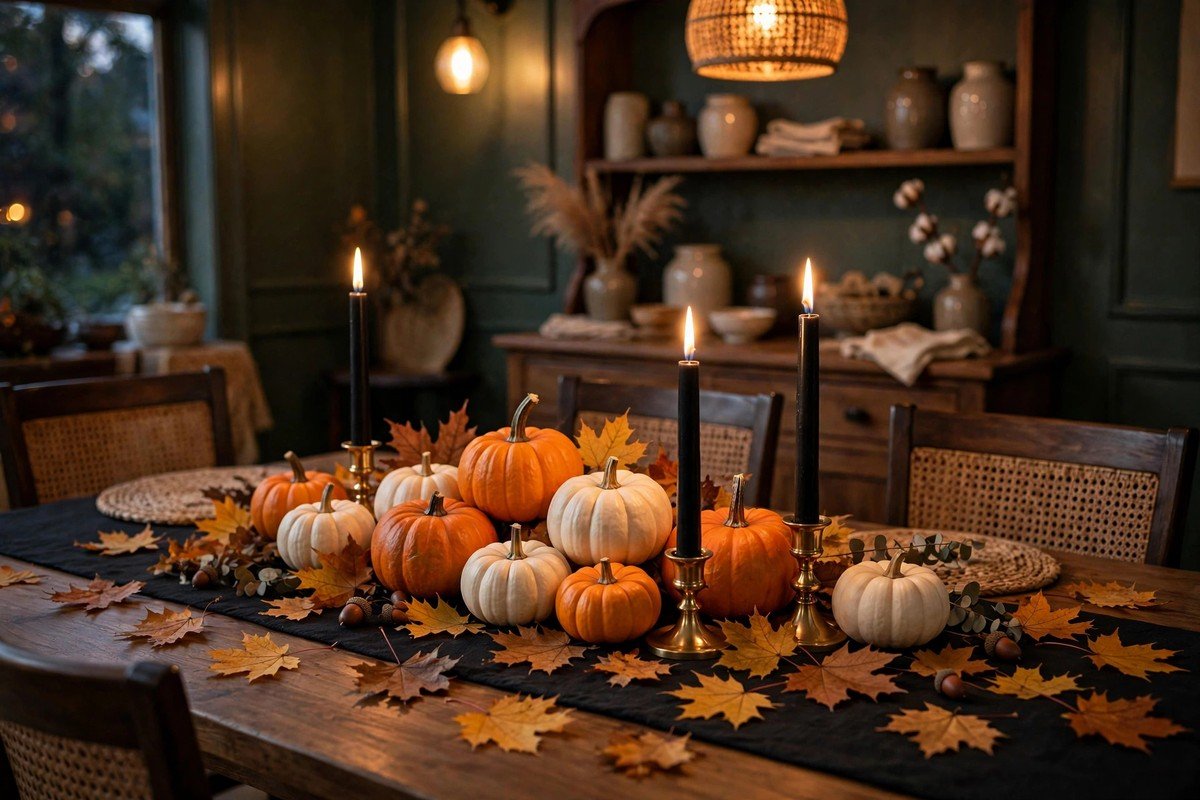
I love setting my table for Halloween. It does not have to be scary to feel festive. A few small touches make every dinner feel fun all month long. Here are the ideas I come back to every single year.
1. Start with a runner down the middle
A runner gives everything a home base. I use a black or burlap one that I already keep in my linen drawer. It protects the table from candle wax and pumpkin stems, and it makes the whole centerpiece look planned instead of random. Lay it straight down the center and let the ends hang over the edge a little. That one step changes the whole feel.
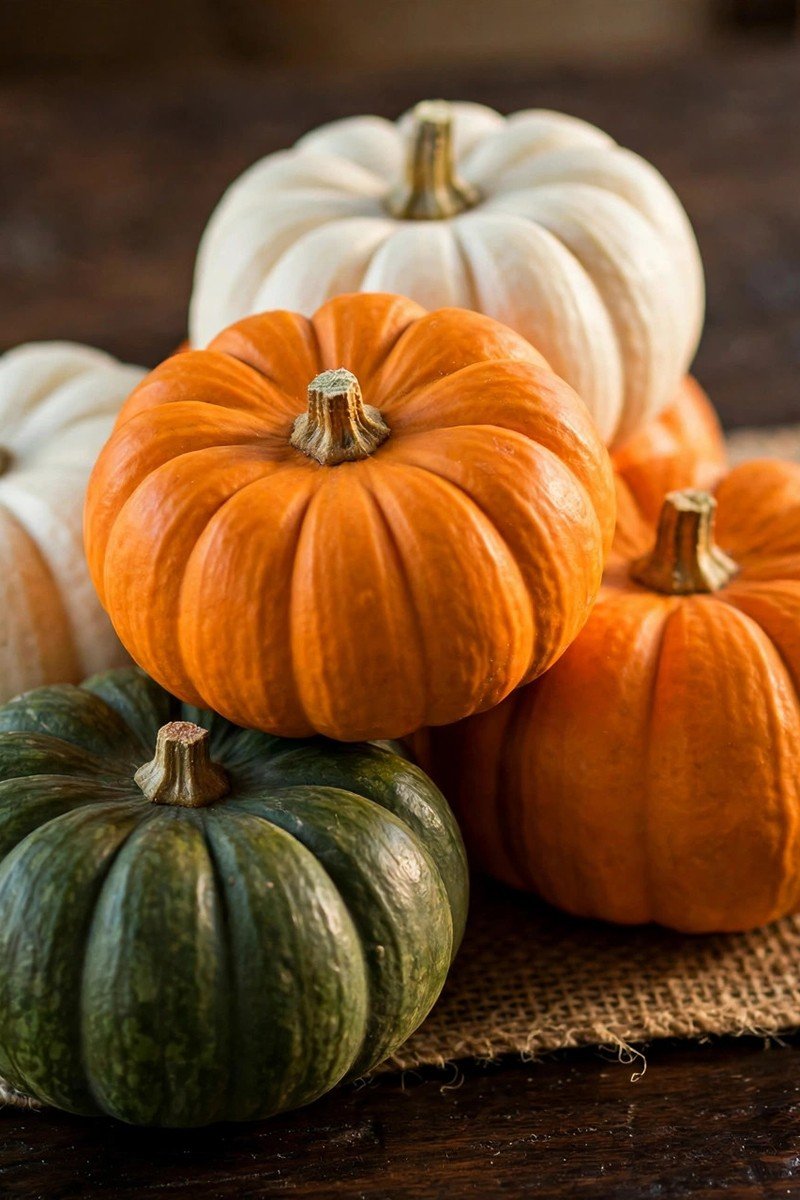
2. Cluster mini pumpkins in the center
I buy a bag of mini pumpkins and pile them right in the middle of the runner. White ones, orange ones, and those bumpy green ones all mixed together. Odd numbers look best, so I work in groups of three or five. They last for weeks without any care. When I get bored, I just move them into a new arrangement and it feels fresh again.
3. Add black taper candles
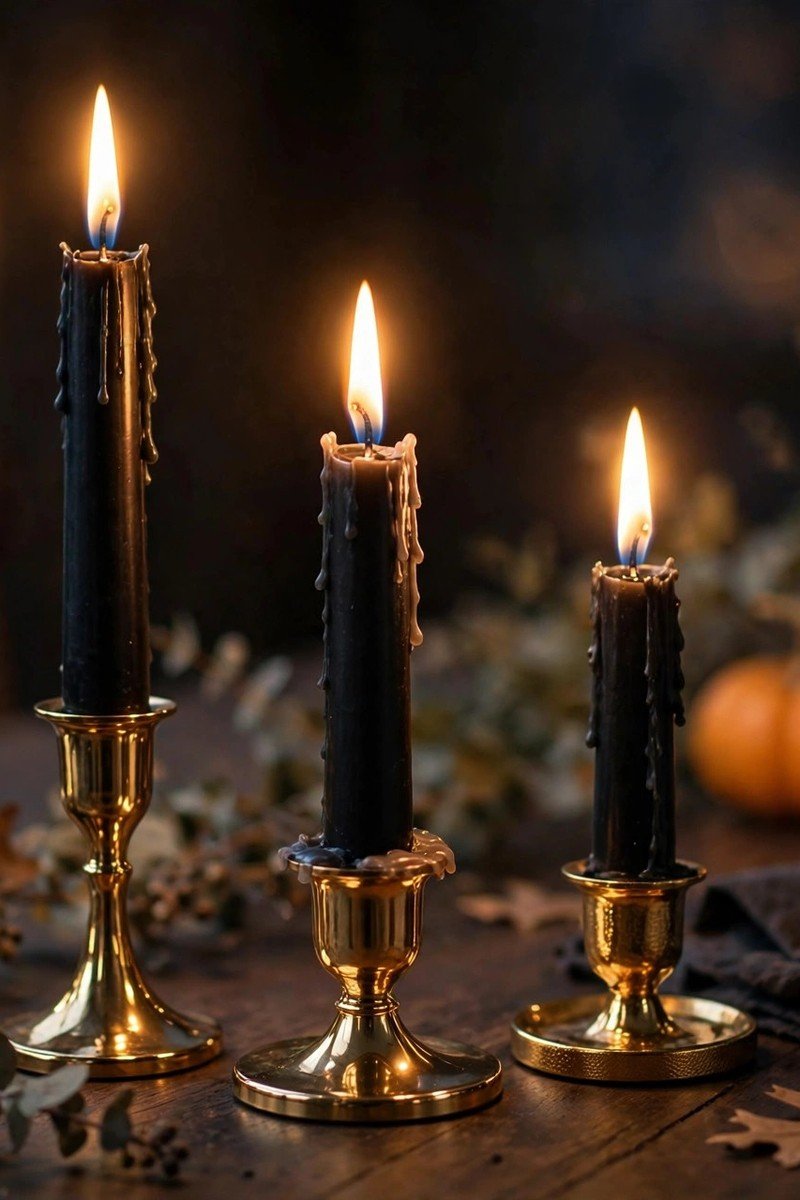
Black taper candles make everything feel like Halloween in the best possible way. I put mine in simple brass holders I found years ago. Different heights look much better than candles that all match. I light them when we sit down for dinner, and the whole table glows. Just keep them away from the leaf garland so nothing gets too close to the flame.
4. Fill glass jars with candy corn
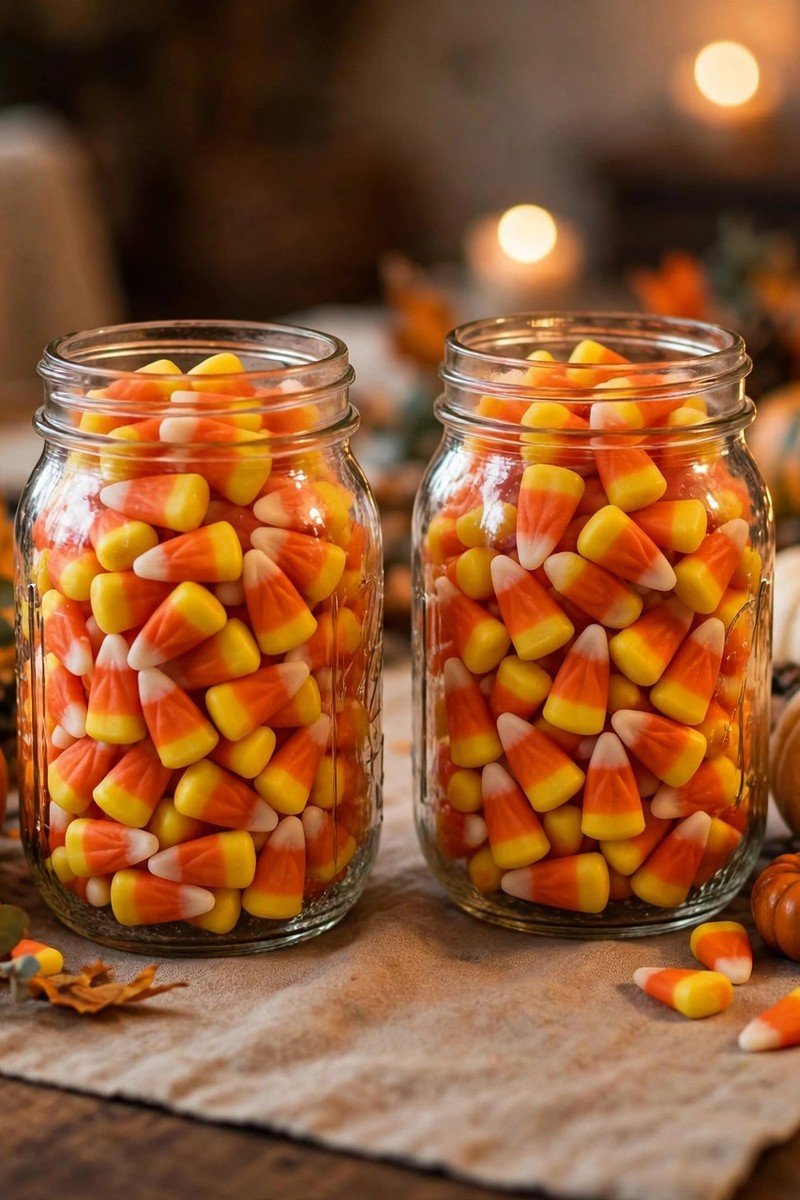
I fill two or three glass jars with candy corn and set them between the pumpkins. It works as decoration and as a little treat at the same time. My guests always end up opening them during dinner. If you have small kids coming over, use jars with lids so little hands do not spill everything across the table.
5. Lay a leaf garland along the runner
A faux fall leaf garland down the center fills in all the empty gaps. I twist mine loosely so it looks natural and not stiff. The orange, red, and yellow leaves pick up the pumpkin colors perfectly. This one trick makes a plain table look full and finished. Mine lives in a storage bin and comes out every October.
6. Tuck in handwritten place cards
I write names on small kraft paper cards and lean them against the pumpkins. Black marker on kraft paper looks just right for Halloween. Guests love finding their spot waiting for them. It takes about ten minutes for the whole table, and it feels so thoughtful. I keep the cards simple with just a first name.
7. Keep the flowers low and moody
A low vase of deep orange marigolds or dark purple mums adds something alive to the table. The key is keeping it short so people can actually see each other across the table. I trim the stems until the blooms sit just above the pumpkins. Nothing kills dinner conversation like a tall arrangement blocking faces.
8. Weave in a string of fairy lights
Battery fairy lights woven through the garland make the table sparkle after dark. I hide the little battery box behind the biggest pumpkin. Warm white lights look best with candlelight. I turn them on right before guests arrive, and everyone always comments on how pretty the table looks.
9. Build a tiny spooky village
I line up three or four tiny ceramic houses with little pumpkins crowded around them. Some years I add bottle brush trees in orange and black. It sits at one end of the table like a little scene. Kids always lean in close to look at it. Mine came from the craft store clearance bin, and they come out every year.
10. Leave the ends clear for serving
This is the practical one that saves the whole setup. Keep serving dishes and elbows in mind when you arrange everything. I keep the centerpiece to the middle third of the table and leave both ends open. The big bowl of pasta or the pizza boxes need a home too. Pretty and practical together always wins.
Conclusion
That is my whole formula every October. A runner, pumpkins, candles, and one fun surprise tucked in. Start with whatever you already own and add one new thing. Your Halloween table will feel festive by tonight.